
🔎 Disclosure: Heads up, babe: some links here are affiliate links, which means you might throw a tiny commission my way if you buy (zero extra cost to you). Only things you’d actually use and love get shared on this site.
1. Add Wall Shelves To Save Floor Space
Okay, bestie, real talk.
That basement floor starts disappearing fast when boxes multiply like gremlins after midnight, right?
Wall shelves lift everything up and instantly give you actual walking room instead of that sideways crab-walk situation.
Here’s how you make that corner work harder for you:
- Install Sturdy Wall Shelves: Mount shelves along one empty wall to lift bins off the floor.
- Group By Category: Place similar items together to stop random box stacking.
- Leave Bottom Space Open: Keep the floor under shelves clear to create visible open space.
👉 Here's How You'll Do It: Pick one basement wall today and clear a four-foot section to install or plan shelving before the weekend.
How I Made It Easy: Consider this heavy-duty wall shelf set to get boxes off the ground fast.
2. Use Clear Bins To See Everything
Have you ever opened five mystery boxes just to find one extension cord?
Clear bins let you see what you own at a glance, which means no more digging like you’re on an archaeological dig, FYI :).
Once you can see everything, you stop rebuying stuff you already have.
Try this simple swap:
- Switch Opaque Boxes For Clear Ones: Replace dark bins to instantly see contents.
- Store Similar Items Together: Keep cords, decor, and craft supplies separated.
- Stack Neatly By Size: Place larger bins on bottom for stability and clean lines.
👉 Here's How You'll Do It: Gather three mystery boxes right now and transfer their contents into clear bins this afternoon.
How I Made It Easy: Consider this clear stackable storage bin set to make every item visible.
3. Label Every Storage Box
Girl, labels change everything.
Without labels, your basement turns into a guessing game you never signed up for.
Clear labels save your future self from opening every single box before finding Halloween decor.
Here’s how you keep it simple:
- Write Big Bold Labels: Use large print to make categories easy to read from afar.
- Stick Labels On The Front: Place them where your eyes naturally land.
- Keep Names Short: Use simple words like Holiday, Kids Clothes, Tools.
👉 Here's How You'll Do It: Grab a marker tonight and label at least five boxes before heading upstairs.
How I Made It Easy: Consider this minimalist label maker to keep every bin clearly marked.
4. Store Holiday Decor Together
Ever noticed how holiday stuff ends up scattered in random corners?
Keeping all decor in one zone saves you from that December panic where you swear the lights disappeared.
One defined area turns seasonal chaos into a grab-and-go system.
Here’s your move:
- Create A Holiday Shelf: Dedicate one full shelf only for decorations.
- Use Color-Coded Bins: Assign each holiday a specific bin color.
- Stack By Season: Place upcoming holidays at eye level for easy access.
👉 Here's How You'll Do It: Choose one shelf today and move every single decoration box into that one dedicated zone.
How I Made It Easy: Consider this color-coded storage bin set to separate each holiday neatly.
5. Create A Toy Storage Area
Basements quietly turn into toy graveyards, don’t they?
A defined toy corner keeps the mess contained and gives kids a clear place to play without taking over the whole space.
When toys have a home, cleanup takes minutes instead of negotiations that last longer than dinner.
Set it up like this:
- Use Large Open Baskets: Keep toys easy to toss in during quick cleanups.
- Limit The Toy Zone: Confine play items to one marked area.
- Rotate Monthly: Store half the toys away to keep the area manageable.
👉 Here's How You'll Do It: Pick one basement corner today and move every toy into that single play zone before bedtime.
How I Made It Easy: Consider this large woven storage basket set to contain toys in one neat spot.
6. Hang Bikes On The Wall
Let’s talk about those bikes leaning against the wall like they pay rent.
Every time you squeeze past them, you wonder why the floor feels smaller than it should, right?
Wall hooks lift bikes up and instantly give you that wide-open basement vibe again.
Here’s how you reclaim that space:
- Install Heavy Wall Hooks: Mount strong hooks into studs to hold each bike securely.
- Hang Vertically: Store bikes upright to free up more floor area.
- Keep Helmets Nearby: Place a small hook beside each bike for easy grab-and-go.
👉 Here's How You'll Do It: Choose one wall today, find the studs, and hang at least one bike before the week ends.
How I Made It Easy: Consider this heavy-duty bike wall hook set to lift bikes off the floor fast.
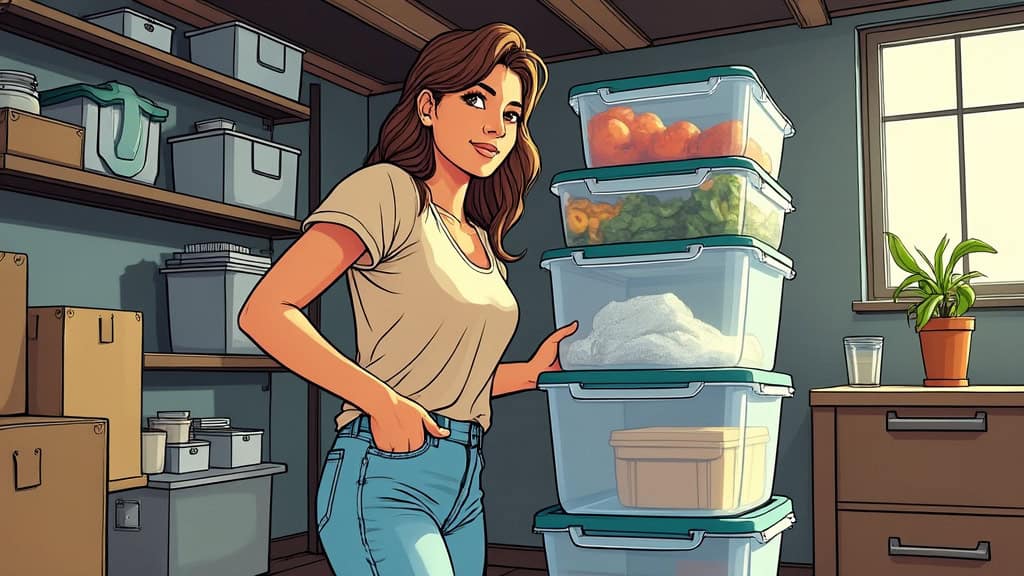
7. Use Stackable Storage Bins
Stacked random boxes feel chaotic, and they always wobble at the worst time.
Stackable bins click neatly into place and make your basement look organized instead of “storage unit chic.”
Once everything stacks cleanly, you finally see vertical space working for you, not against you.
Make it work like this:
- Choose Matching Bins: Use the same size to create clean, stable stacks.
- Stack By Category: Keep similar items in one column to avoid mixing.
- Place Heaviest On Bottom: Build a solid base to prevent tipping.
👉 Here's How You'll Do It: Pick one messy pile and replace it with two neat vertical stacks using matching bins today.
How I Made It Easy: Consider this stackable storage bin set to build tidy vertical towers.
8. Keep A Clear Walking Path
Be honest.
Have you ever tiptoed through your own basement like it’s an obstacle course?
A clear path from stairs to the back wall makes the whole space feel bigger and safer instantly.
Here’s your simple rule:
- Mark A Pathway: Choose a three-foot strip from entrance to wall and keep it empty.
- Shift Items To Sides: Move bins and shelves along the walls only.
- Protect That Space: Commit to never stacking boxes in that walkway.
👉 Here's How You'll Do It: Stand at the bottom of your stairs right now and clear a straight line all the way across the room.
How I Made It Easy: Consider this floor marking tape to define your walking path clearly.
9. Store Clothes In Vacuum Bags
Outgrown clothes pile up fast, and those bins start swallowing space like magic.
Vacuum bags shrink bulky sweaters and baby clothes into flat little packages that barely take up room.
Less bulk means more shelf space without building anything new, which feels like a small win :).
Try this move:
- Sort By Size: Group clothes by age or size before sealing.
- Label Each Bag Clearly: Write the size on the outside for quick access.
- Stack Flat On Shelves: Store compressed bags neatly in one row.
👉 Here's How You'll Do It: Grab one overflowing clothing bin tonight and compress everything into labeled vacuum bags.
How I Made It Easy: Consider this vacuum storage bag set to shrink bulky clothes down instantly.
10. Add Hooks For Large Items
Strollers, folding chairs, and random giant things love to hog corners, don’t they?
Wall hooks turn those awkward bulky items into tidy vertical storage instead of tripping hazards.
Once you hang them up, the basement suddenly feels intentional instead of crammed.
Keep it simple:
- Mount Heavy-Duty Hooks: Secure them into studs for safe weight support.
- Hang One Item Per Hook: Give each large item its own spot.
- Keep Similar Items Together: Group chairs or camping gear in one section.
👉 Here's How You'll Do It: Choose one bulky item today and hang it on a properly secured wall hook before dinner.
How I Made It Easy: Consider this heavy-duty utility hook set to lift bulky items off the floor quickly.
11. Keep Tools In One Spot
Okay, real question.
Why do tools magically scatter across the basement the second you need a screwdriver?
One dedicated tool zone saves you from tearing through every bin like you’re on a treasure hunt gone wrong.
Here’s how you lock it down:
- Choose One Wall Section: Claim a single area just for tools and nothing else.
- Store In One Toolbox: Keep all hand tools inside one sturdy case.
- Hang Frequently Used Items: Mount a small strip for tape measures and hammers.
👉 Here's How You'll Do It: Gather every loose tool today and move them into one single toolbox placed on one marked shelf.
How I Made It Easy: Consider this sturdy toolbox organizer to keep every tool in one tidy spot.
12. Create A Donation Box
Be honest, that basement corner quietly stores stuff you don’t even like anymore.
A donation box gives those unused items an exit plan instead of letting them sit there forever.
Once you see that box filling up, you feel lighter and weirdly productive, right?
Keep it simple:
- Place One Large Bin Near Stairs: Set it where you naturally walk past.
- Add Items Weekly: Drop in clothes, toys, or decor you no longer use.
- Empty Monthly: Take the box out before it overflows.
👉 Here's How You'll Do It: Put an empty bin by the basement stairs today and add at least three unused items before bedtime.
How I Made It Easy: Consider this large plastic storage tote to act as your official donation drop zone.
13. Remove Broken Items
Let’s talk about that box of random broken things you swear you’ll fix someday.
Those half-working lamps and mystery cords just steal space and mental energy, and you know it.
Clearing them out frees up shelves instantly and makes the whole basement feel less cluttered.
Here’s the quick purge:
- Gather All Broken Items: Pull them into one visible pile.
- Decide In Minutes: Toss anything you have not fixed in six months.
- Dispose Properly: Recycle electronics or trash unusable pieces safely.
👉 Here's How You'll Do It: Set a ten-minute timer right now and clear out every broken item you see without overthinking it.
How I Made It Easy: Consider this heavy-duty contractor trash bag set to haul everything out in one trip.
14. Store Seasonal Items Up High
Seasonal stuff doesn’t need prime real estate all year, does it?
Moving rarely used bins up high keeps daily items easy to grab while freeing up eye-level space.
That small shift alone makes your basement feel ten times more organized, trust me :).
Here’s how you arrange it:
- Place Rare Items On Top Shelves: Move holiday inflatables and winter gear up high.
- Keep Everyday Items Lower: Store frequently used bins at chest level.
- Use Stable Ladders: Grab items safely without risky balancing acts.
👉 Here's How You'll Do It: Identify three bins you only touch once a year and move them to your highest shelf today.
How I Made It Easy: Consider this sturdy step ladder to safely reach upper shelves.
15. Maintain A Clear Open Floor Area
Take a breath and picture your basement with open space in the center.
Keeping the middle clear gives the room purpose instead of making it feel like a storage maze.
That open floor lets kids play or gives you space to sort boxes without chaos creeping back in.
Protect that space:
- Designate The Center As Off-Limits: Commit to never stacking items in the middle.
- Push Storage To Walls: Line bins and shelves along the perimeter only.
- Do A Weekly Sweep: Scan the floor and move stray items back immediately.
👉 Here's How You'll Do It: Stand in the center of your basement today and clear a full open square before you leave the room.
How I Made It Easy: Consider this simple floor storage rack to keep everything pushed neatly against the wall.
📌 SAVE IT FOR LATER! 📌
